IKWYDLS 2012

Back to the kitchen.
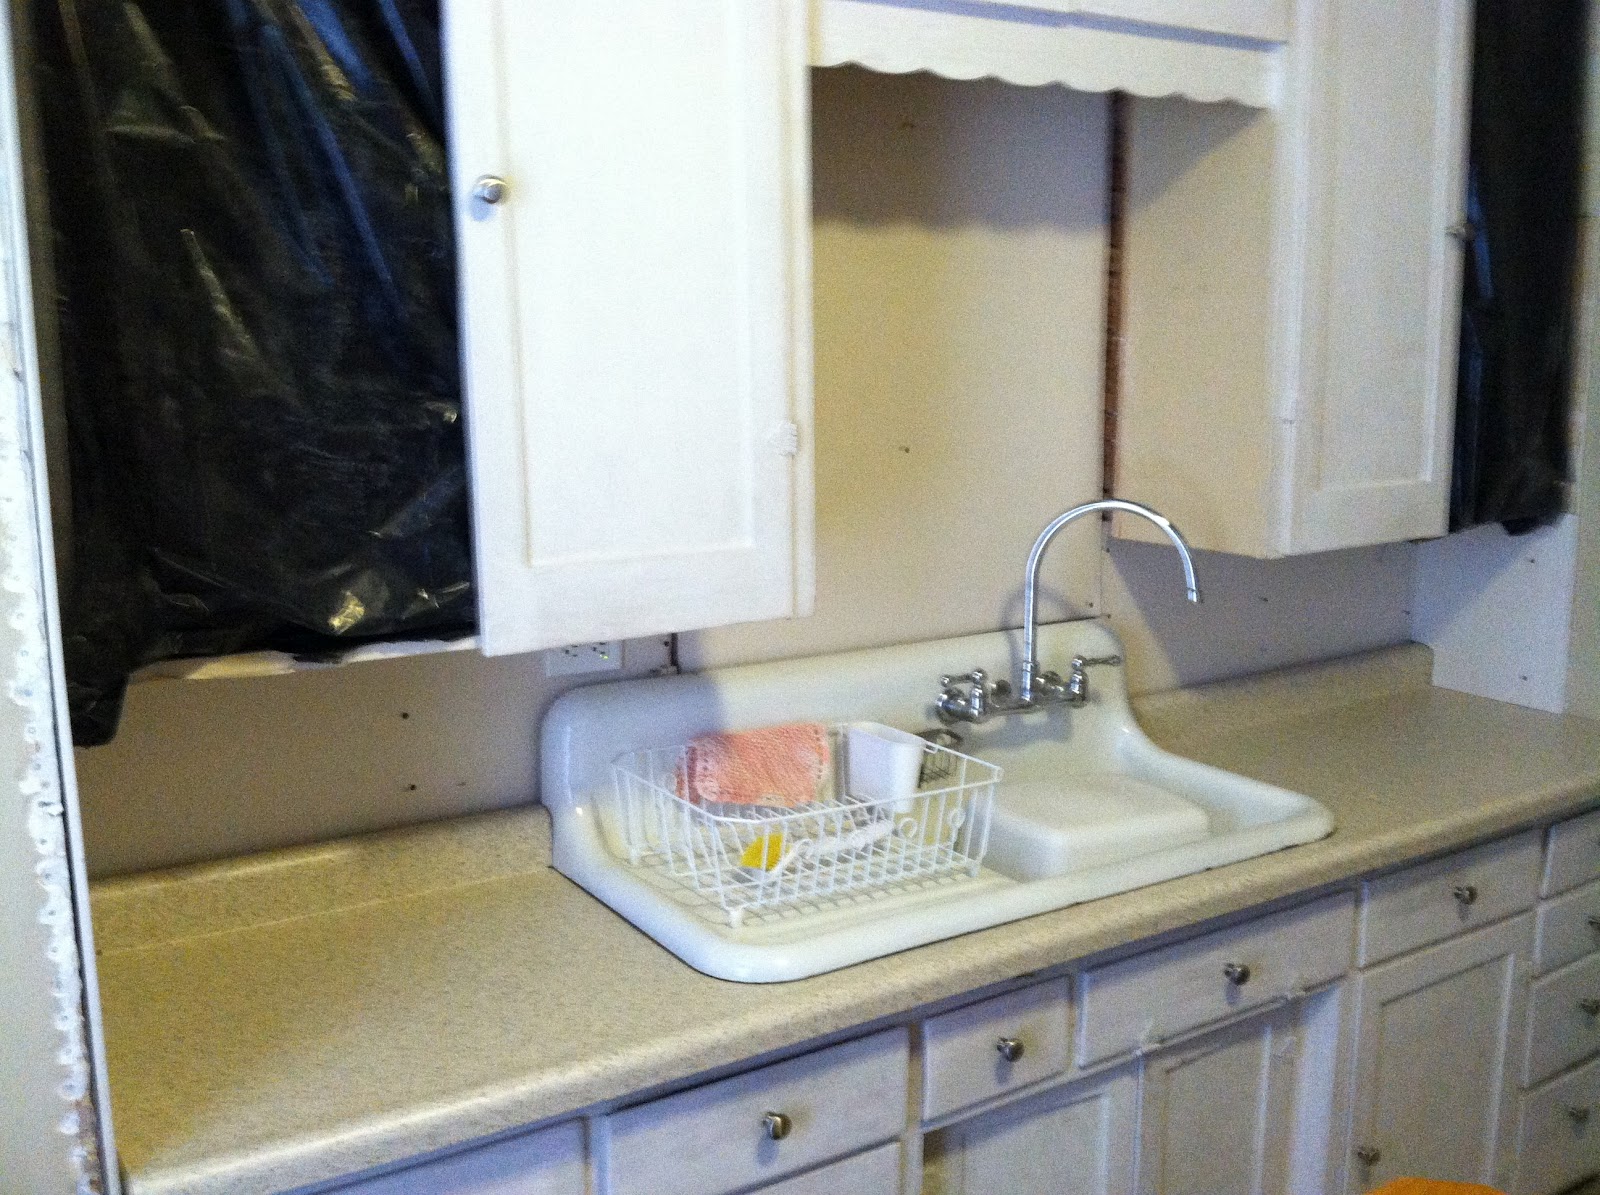
Here’s a picture before the sheetrock:
…Which is before the window was closed off, so you are also
treated with seeing the package of paper towels on the shelf on the other side
of the wall…
And another picture showing the other wall along the
counter:

That corner of the kitchen has been a problem since the last
project, so it was nice to make that normal.
See, because of the old countertop, the corner went all the way to the
corner, around the end of the plaster on that wall. But, when I replaced the plaster on the other
edge of the corner, I gained the depth of the sheetrock’s difference. So the corner was… weird. Basically it was less than 90 degrees or P
shaped or however you would describe it.
Replace the plaster = fix the corner.
Normalcy prevails.
Before I get into that...
 For perspective, here are the "after" pictures for the sheetrock since you have the other pictures and I just mentioned that:

Actually, I took this picture while I was working on it for a working reference. I knew I would need to find those "studs" to hang the sheetrock-- which would be covering the "studs." Zoom in if you have to, but notice that not one of the "studs" reaches from the ceiling to the floor in one piece. Every one is spliced together from one or more boards. The center right is the old window, but it now has a short stud running vertically down the center of it. The far right is the old plywood wall which had holes cut in it to run the wiring you can see. It had also bee cut up to access the plumbing for the sink (bottom right) and further right (not in the picture) is another panel cut to access wiring to outlets, switches, and a light for this area and that wall of the kitchen. It turns out that the 4ft line is that line extending down from the old plywood, through the window, and through the back of the sink. Since that is my seam for the new sheetrock, I had to add some "stud" segments of my own behind that line.

The plumbing is accessible from under the sink on the front side. I took the before picture from the bottom of the stairwell looking up at the studs. The after picture is from the top of the stairs looking across the wall. Behind anyone standing at that point of view is the back door, which accesses the garage, which is the most common door we use since building the garage, so to look at a normal wall here is a major aesthetic improvement.

"normalcy" cannot be overstated. Love that. :)
ReplyDelete