IKWYDLS 2012
 Here is that outlet that I told you I would photo-up for you. It's just an outlet. Well, it's a GFCI outlet. But, other than that, it's nothing special to anyone but me. It just represents a ton of work to me. I have wired it from the back with the old wall, replaced the box, rebuilt it for the new wall, sheet-rocked around it, then around it again, then re-positioned it for the tile, and finally worked all the tile in around it. I had to break up a sheet of tile to get around it, then hand-place stones back in around it to keep the shape and dimensions. But, I had to do the same thing around the corner of the sink, too. In spite of yapping about it so much here, I probably will just forget all about it after a few months and it will just be another ordinary part of the house.
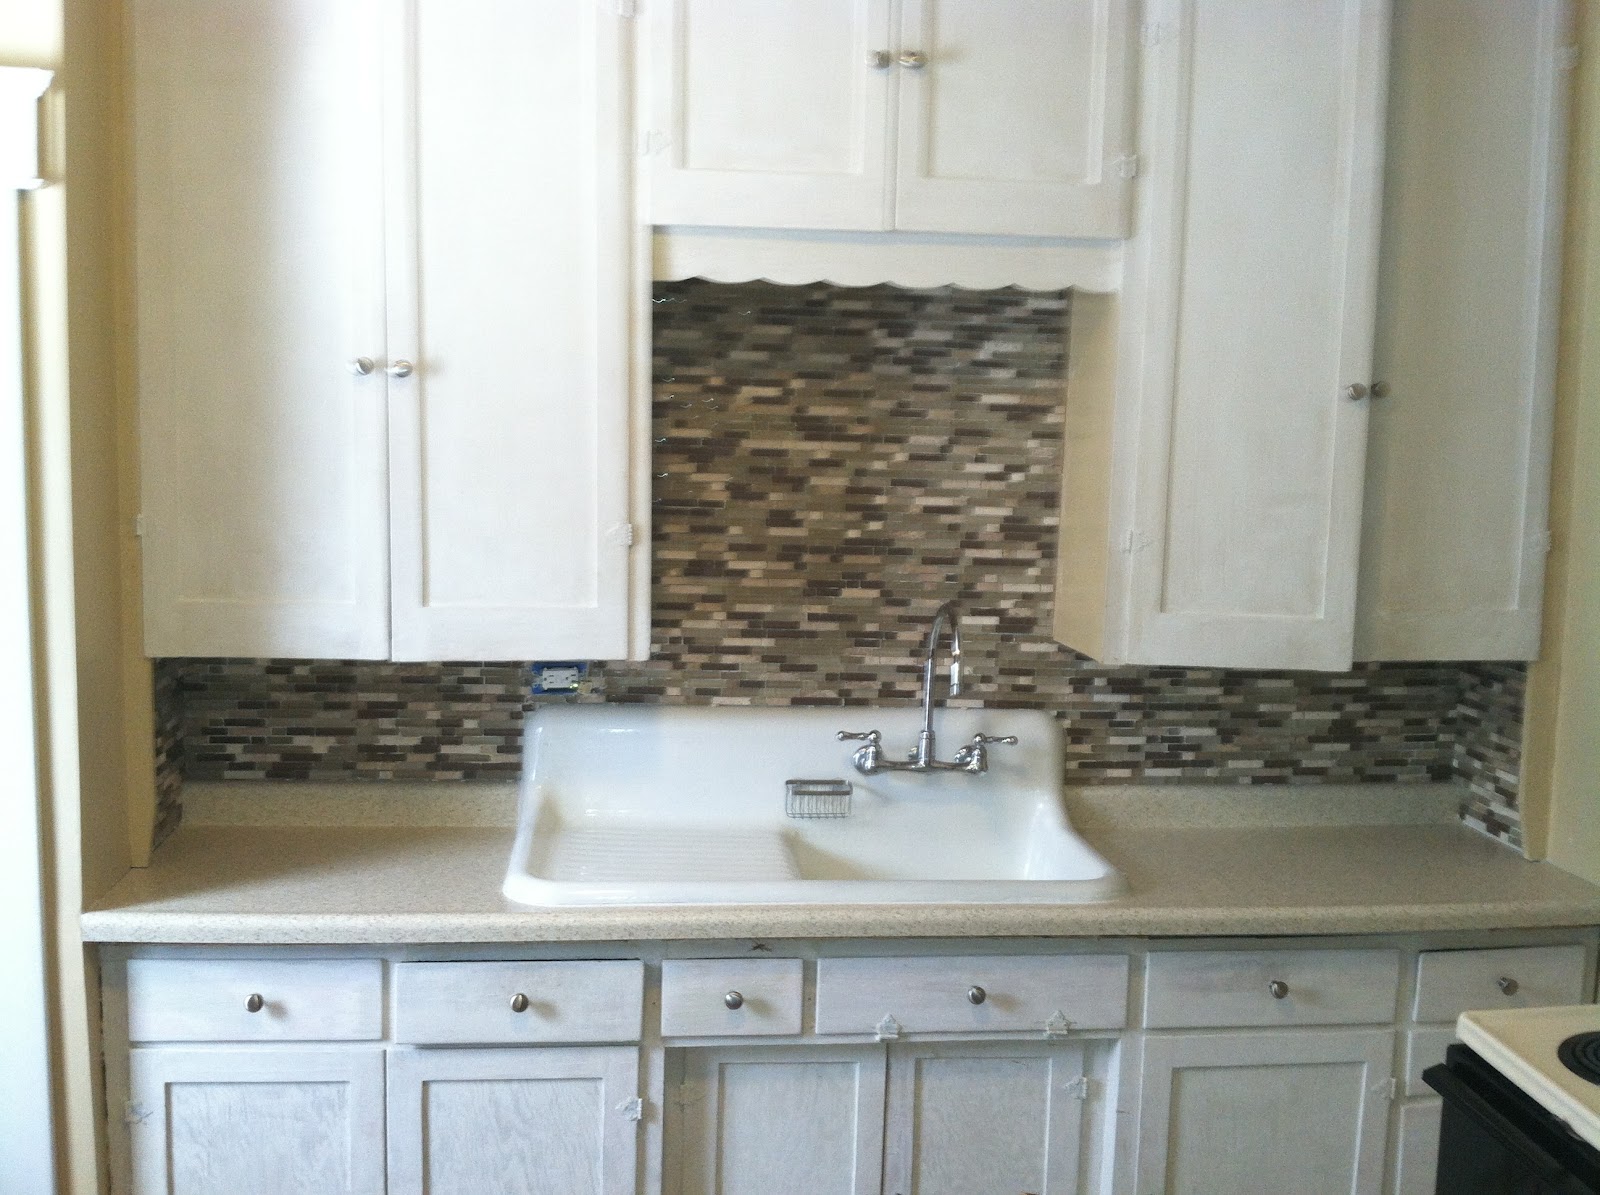
Today I sealed the grout and applied the caulking around the edges. Then I put the outlet back together and took pictures.... and that means...
 The whole thing is done, as of today. Well... Ok, so, after I took this picture, I took all the doors off and sanded them down and then primed them. That much I knew. My lovely bride is considering painting them a darker color to accentuate that whole wall. But, she hasn't decided on a color so we don't have the paint. Today was the last nice day for what could be a long time and it was the warmest day in a long time. So, I wanted to take advantage of that small and closing window to work out in the garage (for one thing) and also to have paint-friendly temperatures. I expect to be able to apply the final paint to the doors after I hang them back up. Maybe not, though, depending on what gets decided about the hardware. If we keep the old hardware and paint it, then I'll paint after hanging. If we want the hardware not to be painted, then I have to paint first, then hang.
That will probably be it for this year, so here is the before and after:

See ya later!
 Here is that outlet that I told you I would photo-up for you. It's just an outlet. Well, it's a GFCI outlet. But, other than that, it's nothing special to anyone but me. It just represents a ton of work to me. I have wired it from the back with the old wall, replaced the box, rebuilt it for the new wall, sheet-rocked around it, then around it again, then re-positioned it for the tile, and finally worked all the tile in around it. I had to break up a sheet of tile to get around it, then hand-place stones back in around it to keep the shape and dimensions. But, I had to do the same thing around the corner of the sink, too. In spite of yapping about it so much here, I probably will just forget all about it after a few months and it will just be another ordinary part of the house.
Today I sealed the grout and applied the caulking around the edges. Then I put the outlet back together and took pictures.... and that means...
 The whole thing is done, as of today. Well... Ok, so, after I took this picture, I took all the doors off and sanded them down and then primed them. That much I knew. My lovely bride is considering painting them a darker color to accentuate that whole wall. But, she hasn't decided on a color so we don't have the paint. Today was the last nice day for what could be a long time and it was the warmest day in a long time. So, I wanted to take advantage of that small and closing window to work out in the garage (for one thing) and also to have paint-friendly temperatures. I expect to be able to apply the final paint to the doors after I hang them back up. Maybe not, though, depending on what gets decided about the hardware. If we keep the old hardware and paint it, then I'll paint after hanging. If we want the hardware not to be painted, then I have to paint first, then hang.
That will probably be it for this year, so here is the before and after:

See ya later!